Unity Catalog Authentication and Authorization
You can start working with Unity Catalog Access Control integration with an external authentication provider (e.g., Google Auth, Okta, etc.) via the following instructions.
It is important to note that Unity Catalog already has its own local user database to restrict user access. When you work with an external authentication provider, we are now relying on that external provider (e.g., Google Identity) to authenticate. For example, for access to Unity Catalog authenticated by Google Identity, a user must have a Google Identity (e.g. gmail address) that is added to the local UC database.
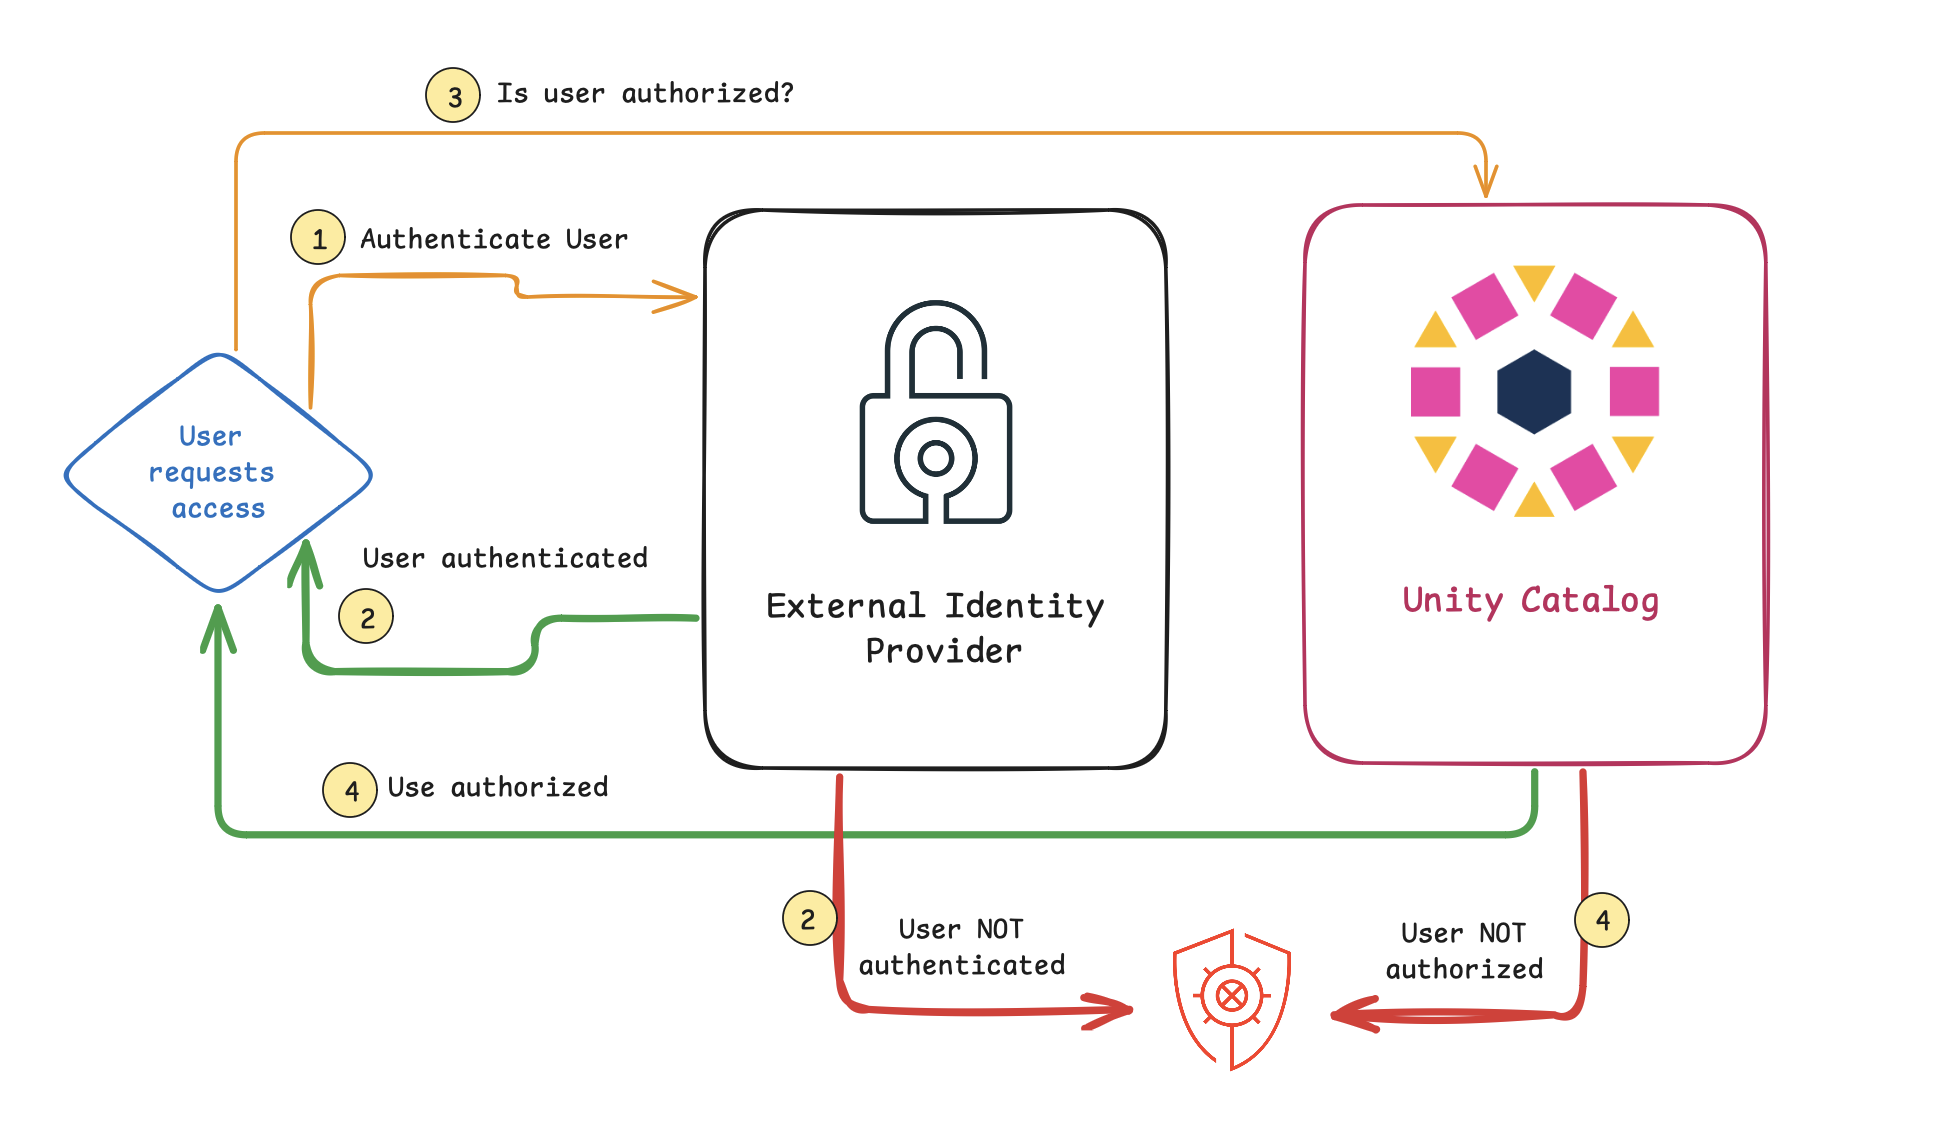
Throughout the next set of examples, we are using an external identity provider for authentication while the local Unity Catalog database for authorization. The flow is as follows:
- The user account used will authenticate against an external authentication provider to confirm the user is who
they say they are (e.g.,
bobbie@rocinanteis in fact Bobbie Draper on the Rocinante) - The user account is either authenticated and a user token is provided or not authenticated.
- With the token at hand, the user account also needs to request if they are authorized to perform the task (e.g., the user can only read tables but not write any tables). This authorization step is performed with the Unity Catalog database.
- The user account is either authorized and they can perform the task or not authorized.
Configure your External Identity Provider
To try out authentication and authorization, first configure your preferred external identity provider following their instructions. Ultimately you will have configuration properties to configure:
etc/conf/server.propertiesto fill in the Identity Provider authorization parameters- [Optional]
ui/.envso the Unity Catalog UI can also use the sameclient_id.
Unity Catalog UI supported Identity Authentication Providers
Currently, the Unity Catalog User Interface supports Google Identity Provider.
You can follow these instructions if would like to use Google as your external identity provider.
Once you have configured your identity provider, the next step is to configure your Unity Catalog server settings.
Configure UC Server Settings
Start by editing etc/conf/server.properties with the Client ID and Client secret provided to you by the
Identity Provider.
server.authorization=enable
server.authorization-url=https://accounts.google.com/o/oauth2/auth
server.token-url=https://oauth2.googleapis.com/token
server.client-id=<Client ID provided earlier>
server.client-secret=<Client secret provided earlier>
Restart the UC Server
Now that the Google Authentication is configured, restart the UC Server with the following command.
bin/start-uc-server
Behind the scenes, on startup, the UC server will configure itself with the following:
- Creation of internal signing keys and authentication files in
etc/conf - Creation of an admin access token in
etc/conf/token.txt - Creation of an admin account in the user database
- Granting the admin account as the metastore admin for the server
Testing User and Admin Authentication
The following steps allow you to test user and admin authentication to your local Unity Catalog.
Use admin token to verify admin user is in local database
As noted earlier, on startup the UC server configured itself and created the admin access token at
etc/conf/token.txt. The following command uses the same admin authentication token to view the user list.
bin/uc --auth_token $(cat etc/conf/token.txt) user list
The output should look something like this
┌────────────────────────────────────┬─────────┬────────────────────────┬───────────┬───────┬───────────┬─────────────┬─────────────┐
│                 ID                 │  NAME   │         EMAIL          │EXTERNAL_ID│ STATE │PICTURE_URL│ CREATED_AT  │ UPDATED_AT  │
├────────────────────────────────────┼─────────┼────────────────────────┼───────────┼───────┼───────────┼─────────────┼─────────────┤
│c6e354c9-ec27-4815-9212-4bdb4fdbfea4│Admin    │admin                   │null       │ENABLED│null       │1727198813231│1727220886536│
├────────────────────────────────────┼─────────┼────────────────────────┼───────────┼───────┼───────────┼─────────────┼─────────────┤
Try to log in with no user in the local database
As noted earlier, Unity Catalog has a local database that contains the users allowed to access it. While an administrative account was created, no user account has been created yet. Thus, the following command will fail.
bin/uc auth login
Your browser will open and you will authenticate with the specific Google identity (e.g., bobbie@rocinante). While authenticated, the user account has not been added to the local database. Hence the command will fail with the output similar to the following:
Listening on port: 61918
Attempting to open the authorization page in your default browser.
If the browser does not open, you can manually open the following URL:

https://accounts.google.com/o/oauth2/auth?client_id=$$.apps.googleusercontent.com&redirect_uri=http%3A%2F%2Flocalhost%3A61918&response_type=code&scope=openid+profile+email&state=$$

Received authentication response.
Received token response.
Exception in thread "main" java.lang.RuntimeException: io.unitycatalog.client.ApiException: Error authenticating - {"error_code":"INVALID_ARGUMENT","details":[{"reason":"INVALID_ARGUMENT","metadata":{},"@type":"google.rpc.ErrorInfo"}],"stack_trace":null,"message":"User not allowed: bobbie@rocinante"}
    at io.unitycatalog.cli.UnityCatalogCli.main(UnityCatalogCli.java:168)
Caused by: io.unitycatalog.client.ApiException: Error authenticating - {"error_code":"INVALID_ARGUMENT","details":[{"reason":"INVALID_ARGUMENT","metadata":{},"@type":"google.rpc.ErrorInfo"}],"stack_trace":null,"message":"User not allowed: bobbie@rocinante"}
    at io.unitycatalog.cli.AuthCli.doExchange(AuthCli.java:102)
    at io.unitycatalog.cli.AuthCli.login(AuthCli.java:62)
    at io.unitycatalog.cli.AuthCli.handle(AuthCli.java:46)
    at io.unitycatalog.cli.UnityCatalogCli.main(UnityCatalogCli.java:124)
Warning
Note, bobbie@rocinante is not a real Google Identity account, please replace this with your own.
Add user account to the local database
To fix this error, let’s start by adding your user account to the UC local database. Use the CLI with the admin token to add your account to the local database.
bin/uc --auth_token $(cat etc/conf/token.txt) user create --name "Bobbie Draper" --email bobbie@rocinante
Try to log in with your user account
Now use the CLI to authenticate and gain an access token using the account that has been created.
bin/uc auth login --output jsonPretty
Similar to the previous steps, your browser will open and you will authenticate with the specific Google identity
(e.g., bobbie@rocinante). This time it should succeed provided the Google Identity you are authenticating with is the
same one authorized in the Unity Catalog local database. The output should be similar to the following
Listening on port: 51798
Attempting to open the authorization page in your default browser.
If the browser does not open, you can manually open the following URL:

https://accounts.google.com/o/oauth2/auth?client_id=$$.apps.googleusercontent.com&redirect_uri=http%3A%2F%2Flocalhost%3A51798&response_type=code&scope=openid+profile+email&state=$$

Received authentication response.
Received token response.
{
  "access_token" : "exJ...N8zt$w"
}
Save the returned token in an environment variable for later
export token='exJ...N8zt$w'
Try to list catalogs with your user account
Note, that while we have authenticated (with Google Identity) your account with an authorized user in the local database, that user does not yet have any permissions. Thus if one tries to list catalogs, an unauthenticated user will fail, your user account will return nothing (as it does not have permission to list), and the admin account will succeed.
# Fails as the user is UNAUTHENTICATED
bin/uc catalog list

# Returns nothing
bin/uc --auth_token $token catalog list

# Succeeds
bin/uc --auth_token $(cat etc/conf/token.txt) catalog list
But if you were to add USE CATALOG permission to your user account
bin/uc --auth_token $(cat etc/conf/token.txt) permission create --securable_type catalog --name unity --privilege 'USE CATALOG' --principal bobbie@rocinante
then the following command would work.
# Succeeds
bin/uc --auth_token $token catalog list
Try creating a catalog with your user account
The following command will initially fail as your user account does not have permissions to create a catalog.
bin/uc --auth_token $token catalog create --name myfirstcatalog
Thus, let’s provide your account with the necessary permissions.
bin/uc --auth_token $(cat etc/conf/token.txt) permission create --securable_type metastore --name metastore --privilege "CREATE CATALOG" --principal bobbie@rocinante
With the permission set, the preceding command will succeed because your user account has the CREATE CATALOG
permissions.
Try to access your table using DuckDB
First, let’s give our user account (bobbie@rocinante) USE CATALOG, USE SCHEMA, and SELECT permissions.
Notice how we’re providing access using the three-part naming convention of catalog, schema, and table. As we provide
each level of permissions, we progress down the three parts.
bin/uc --auth_token $(cat etc/conf/token.txt ) permission create --securable_type catalog --name unity --privilege "USE CATALOG" --principal bobbie@rocinante
bin/uc --auth_token $(cat etc/conf/token.txt ) permission create --securable_type schema --name unity.default --privilege "USE SCHEMA" --principal bobbie@rocinante
bin/uc --auth_token $(cat etc/conf/token.txt ) permission create --securable_type table --name unity.default.numbers --privilege "SELECT" --principal bobbie@rocinante
Then start a new DuckDB session.
duckdb
Within the duckdb session, let’s query the unity.default.numbers table. Note the CREATE SECRET statement uses
the auth_token ($token) thus please fill the TOKEN field in with your saved $token value.
install uc_catalog from core_nightly;
load uc_catalog;
install delta;
load delta;

CREATE SECRET (
      TYPE UC,
      TOKEN 'exJ...N8zt$w',
      ENDPOINT 'http://127.0.0.1:8080',
      AWS_REGION 'us-east-2'
 );

ATTACH 'unity' AS unity (TYPE UC_CATALOG);

SHOW ALL TABLES;
SELECT * from unity.default.numbers;
Using Spark with a User Token
Now that you have enabled Google Authentication for your UC instance, any unauthenticated clients such as a spark-sql
shell without using an identity token will fail. For example, if you were to run the SHOW SCHEMA step in the
working with Unity Catalog Tables with Spark using the unauthenticated
spark-sql command, you would get the following error.
spark-sql ()> SHOW SCHEMAS;
24/09/25 15:36:28 ERROR SparkSQLDriver: Failed in [SHOW SCHEMAS]
io.unitycatalog.client.ApiException: listSchemas call failed with: 401 - {"error_code":"UNAUTHENTICATED","details":[{"reason":"UNAUTHENTICATED","metadata":{},"@type":"google.rpc.ErrorInfo"}],"stack_trace":null,"message":"No authorization found."}
    at io.unitycatalog.client.api.SchemasApi.getApiException(SchemasApi.java:77)
    at io.unitycatalog.client.api.SchemasApi.listSchemasWithHttpInfo(SchemasApi.java:358)
To solve this issue, ensure that the configuration spark.sql.catalog.unity.token is populated such as using the
$token environment variable that you had set in the try to log in with your user account
step.
bin/spark-sql --name "local-uc-test" \
    --master "local[*]" \
    --packages "io.delta:delta-spark_2.12:3.2.1,io.unitycatalog:unitycatalog-spark_2.12:0.2.0" \
    --conf "spark.sql.extensions=io.delta.sql.DeltaSparkSessionExtension" \
    --conf "spark.sql.catalog.spark_catalog=io.unitycatalog.spark.UCSingleCatalog" \
    --conf "spark.sql.catalog.unity=io.unitycatalog.spark.UCSingleCatalog" \
    --conf "spark.sql.catalog.unity.uri=http://localhost:8080" \
    --conf "spark.sql.catalog.unity.token=$token" \
    --conf "spark.sql.defaultCatalog=unity"
With this set, now you can continue your Using Spark SQL to query Unity Catalog schemas and tables and Running CRUD Operations on a Unity Catalog table steps with Spark as an authenticated client to UC.
Using Google Identity with Unity Catalog UI
We previously configured Google as the Identity Provider and configured UC Server settings for CLI access. However, we can also apply this authentication and authorization to the Unity Catalog UI.
Configure and restart the Unity Catalog UI
First, you will need to edit the ui/.env file to enable Google Auth and add the Google Client ID that you created
when you - in this example - previously configured Google as the Identity Provider.
REACT_APP_GOOGLE_AUTH_ENABLED=true
REACT_APP_GOOGLE_CLIENT_ID=<Client ID provided earlier>
If you have not already done so, restart the UI.
cd ui
yarn install
yarn start
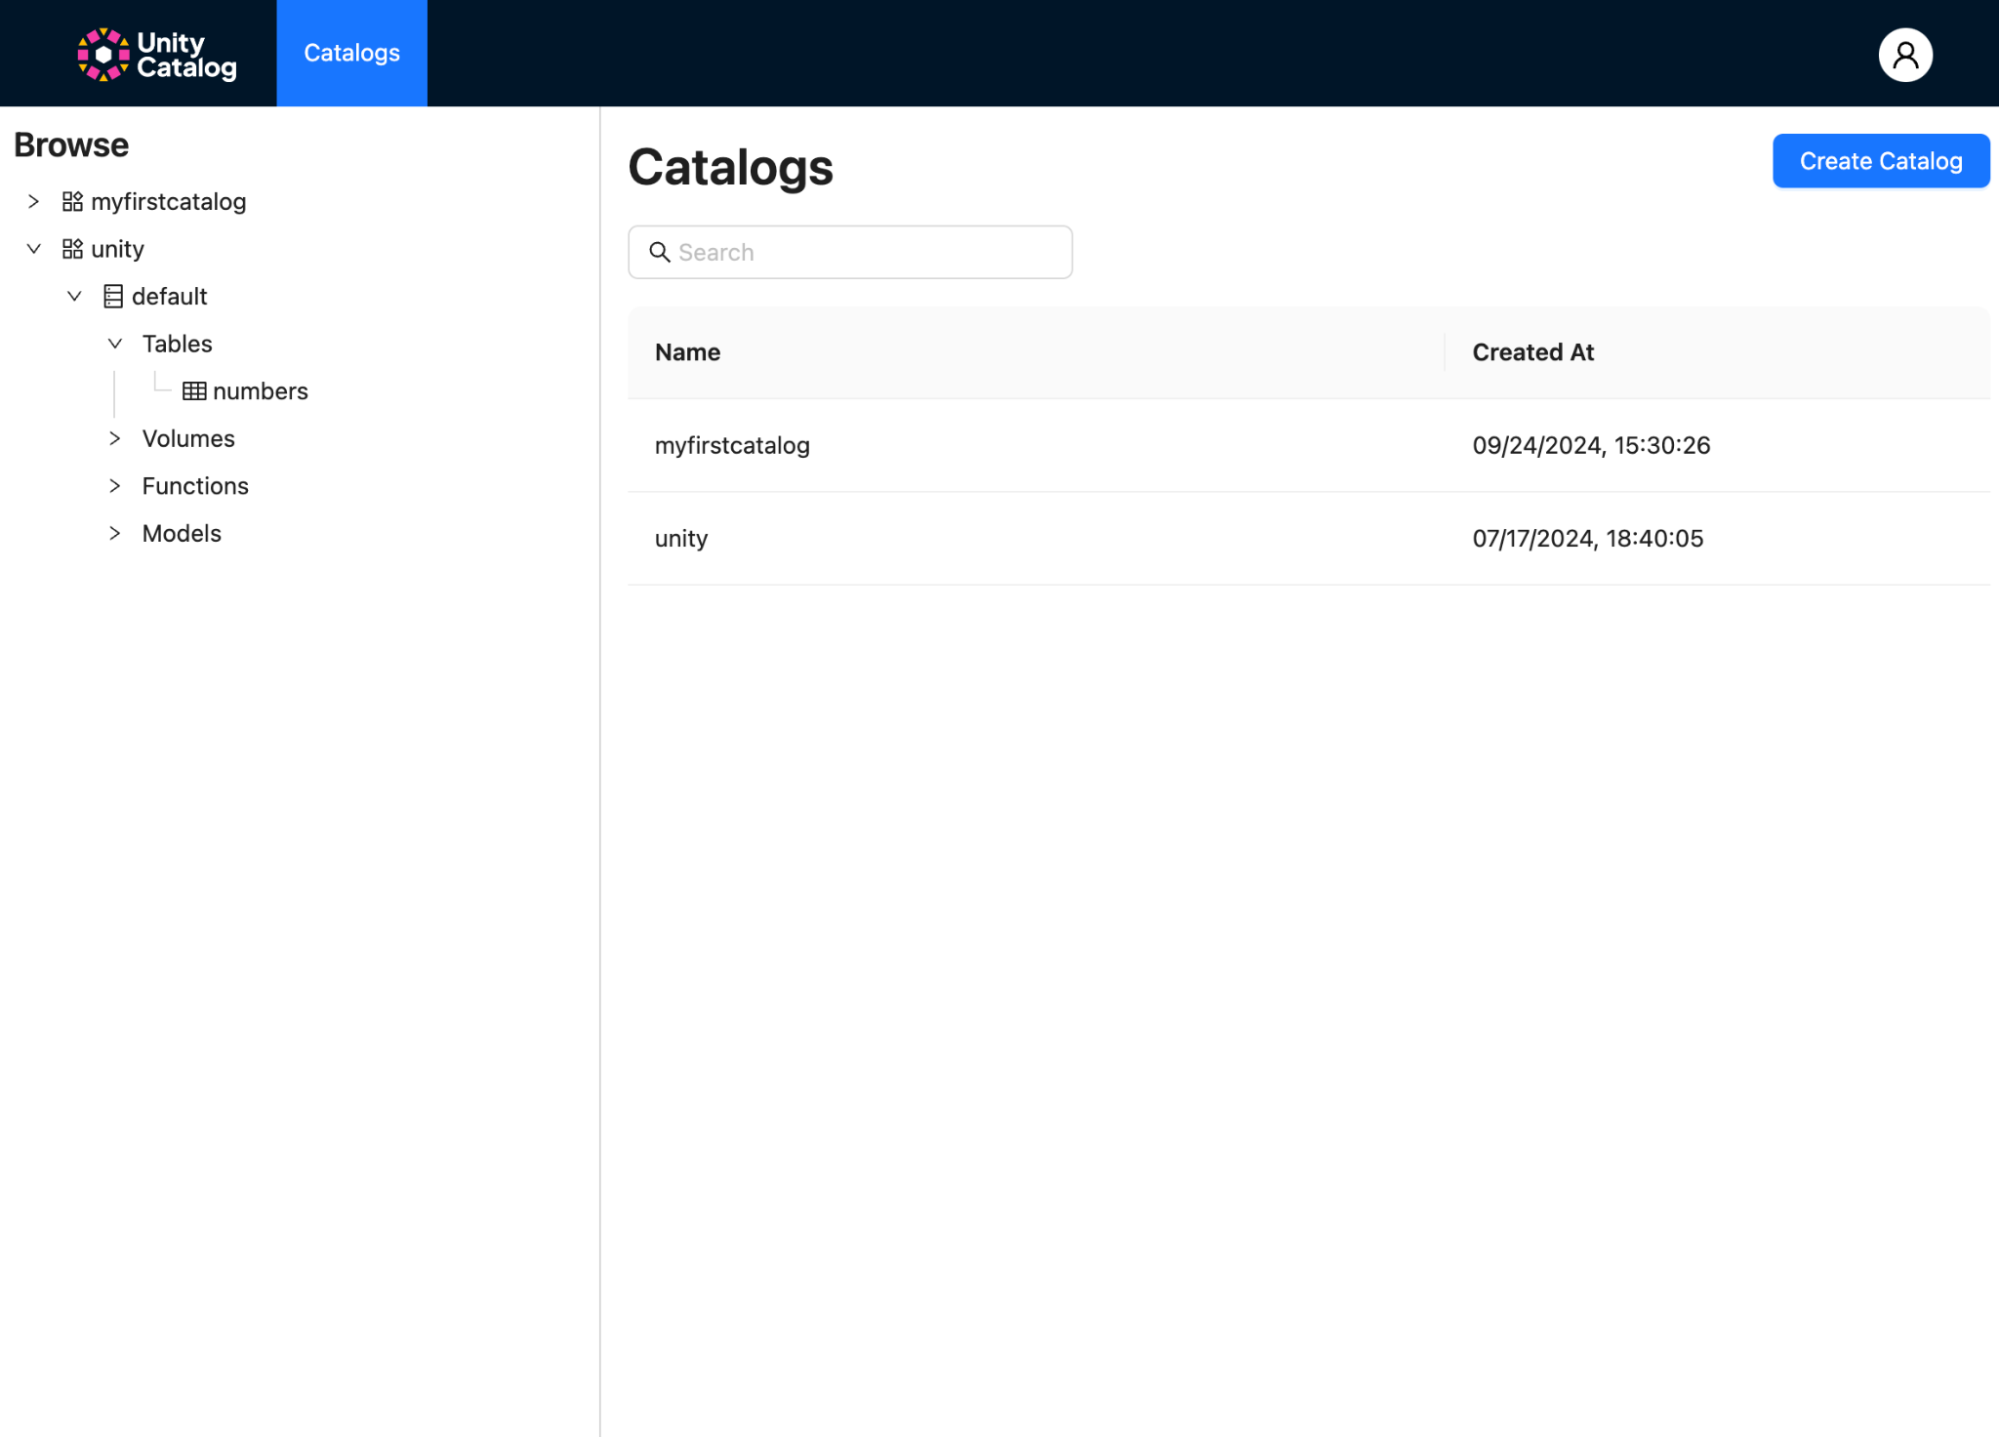
This will open a new browser window with your identity provider login (e.g., Google Identity).
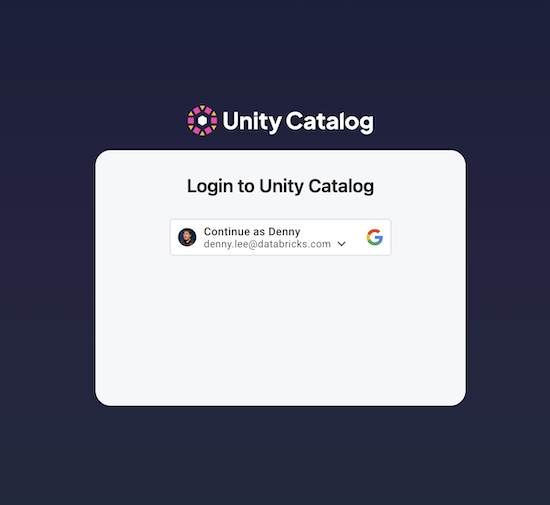
Upon authentication, you will be able to view your Unity Catalog data and AI assets including the catalog
(myfirstcatalog) you recently created in the try creating a catalog with your account
step.
[Optional] Understanding Server and UI authentication
Unity Catalog requires both the server and the UI to be authenticated - in this case using Google Identity. If either or both are disabled, it will result in the following expected errors.
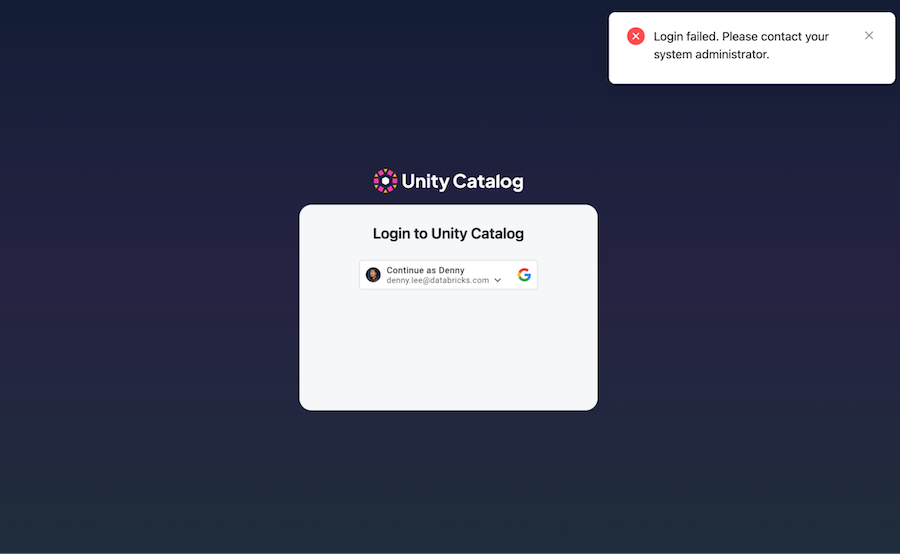
Disabling Server authentication, UI authenticated is enabled
Modify the server.properties file to disable the server authentication by changing server.authorization to disabled.
server.authorization=disable
Restarting your UC server (i.e., bin/start-uc-server) and UI (i.e., yarn start) will open a new browser window
with the Google Auth login but fail with the following login failed error.
Enabling server authentication, UI authentication is disabled
Let’s go the other way and enable server authentication and disable UI authentication. Modify server.properties so
it is now enabled
server.authorization=enable
and edit ui/.env file so the UI authentication is disabled.
REACT_APP_GOOGLE_AUTH_ENABLED=false
REACT_APP_GOOGLE_CLIENT_ID=
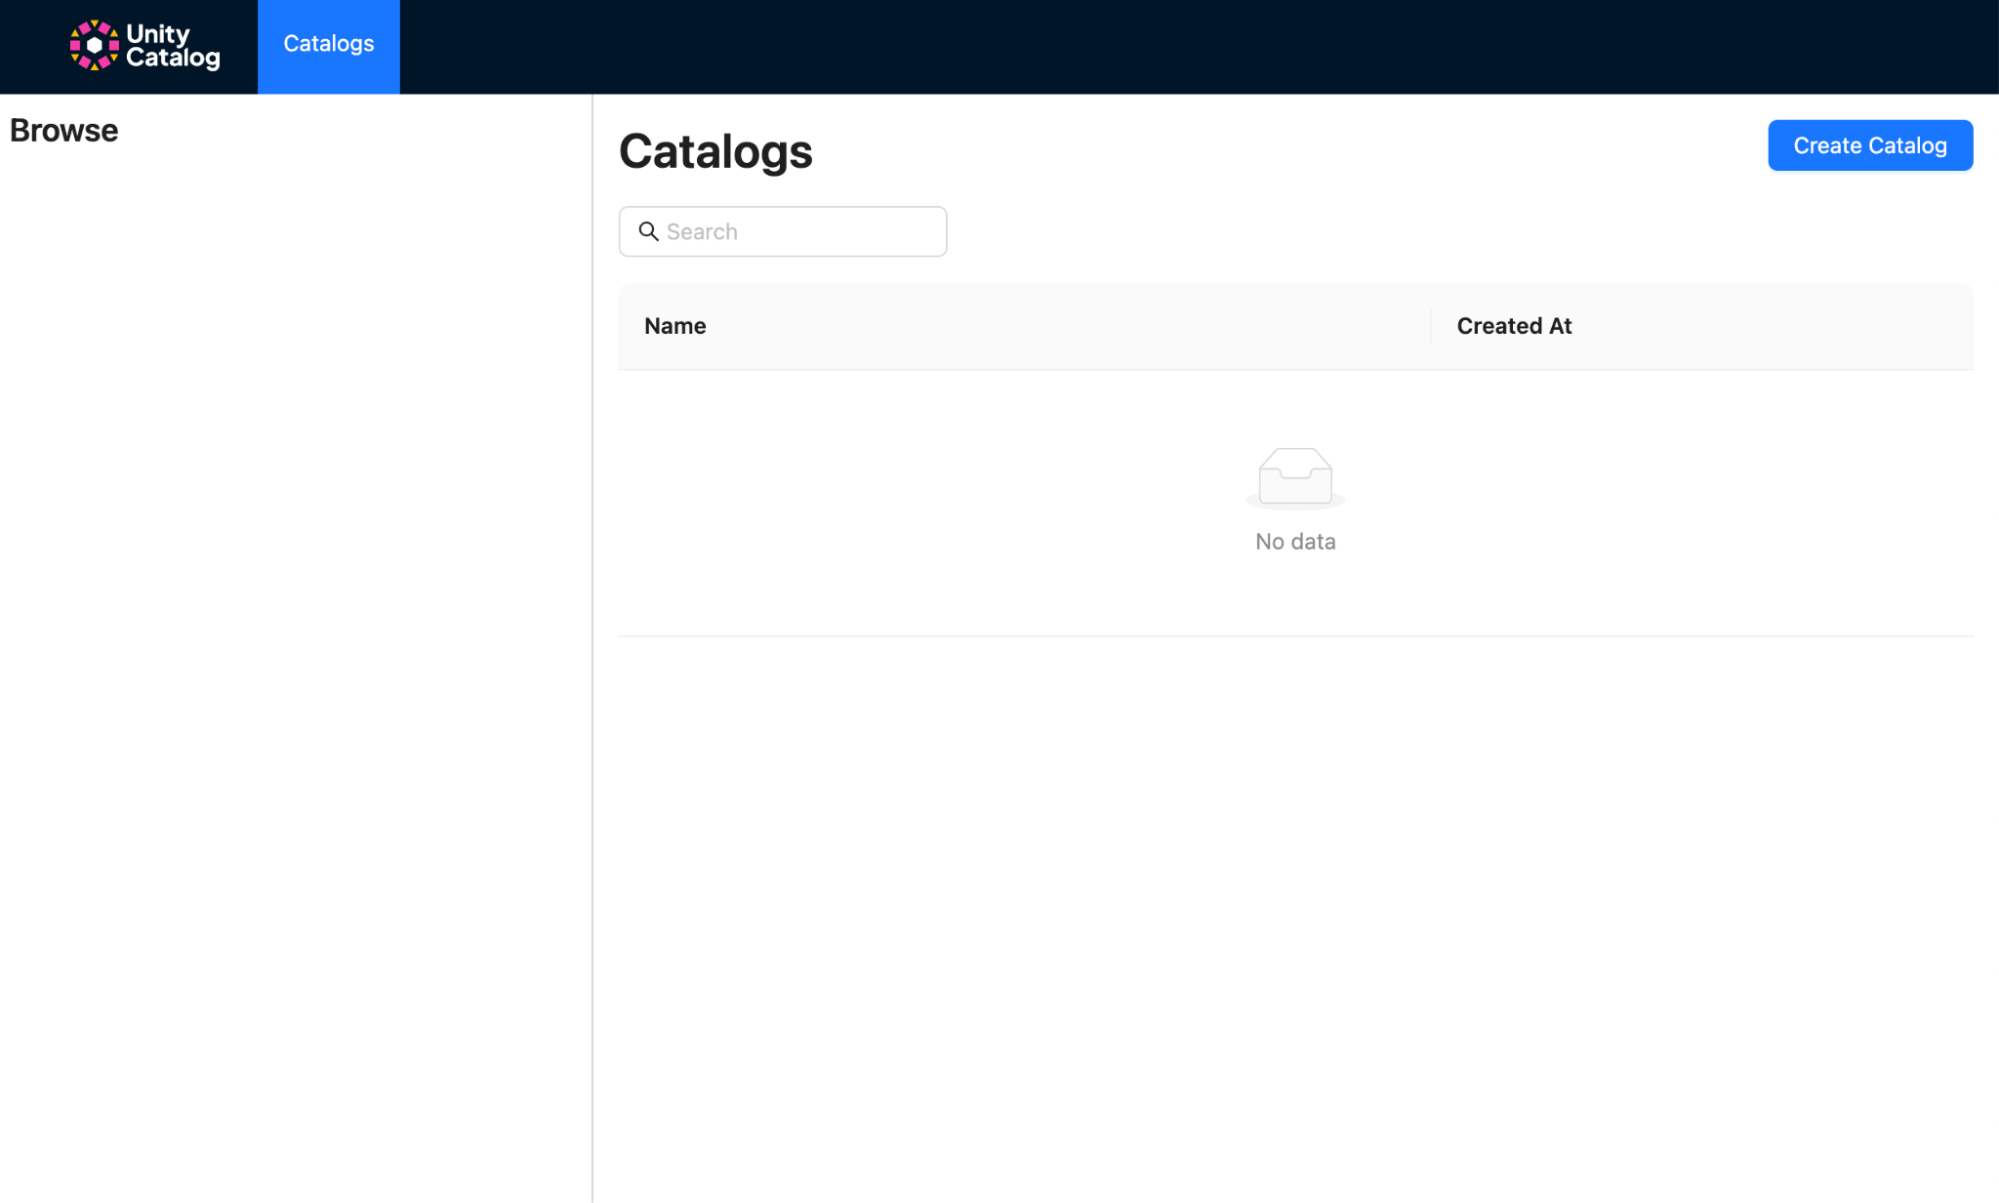
Restarting your UC server (i.e., bin/start-uc-server) and UI (i.e., yarn start) will open a new browser window
with the Google Auth login. You will successfully log into the UI but fail to show any Unity Catalog assets as the UI
is not authenticated to query those assets.
Disable both server and authentication
Finally, let’s disable both server and UI authentication by modifying the server.properties
server.authorization=disable
and the ui/.env file so both are disabled.
REACT_APP_GOOGLE_AUTH_ENABLED=false
REACT_APP_GOOGLE_CLIENT_ID=
Restarting your UC server (i.e., bin/start-uc-server) and UI (i.e., yarn start) will open a new browser window
with the Google Auth login. In this case, there will be no profile menu nor any login screen but you will be able
to see your UC assets.