Configure Google as the Identity Provider
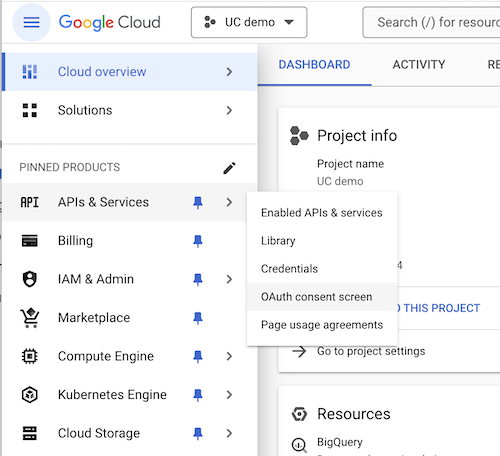
To configure Google as your external identity provider, go to the Google Cloud Console Resource Manager to create a new project.
- Click on Create Project and name it (e.g, UC demo)
Configure OAuth
-
Go to your project, then select APIs & Services > OAuth consent screen
-
Choose External and then click Create.
Configure App Information
-
For the App information dialog, please provide the App name, user-supported email, and Developer contact information at a minimum. Click Save and Continue.
-
For the purpose of this demo, skip Scopes, Test users, and go directly to Summary return Back to Dashboard.
Configure OAuth client ID
-
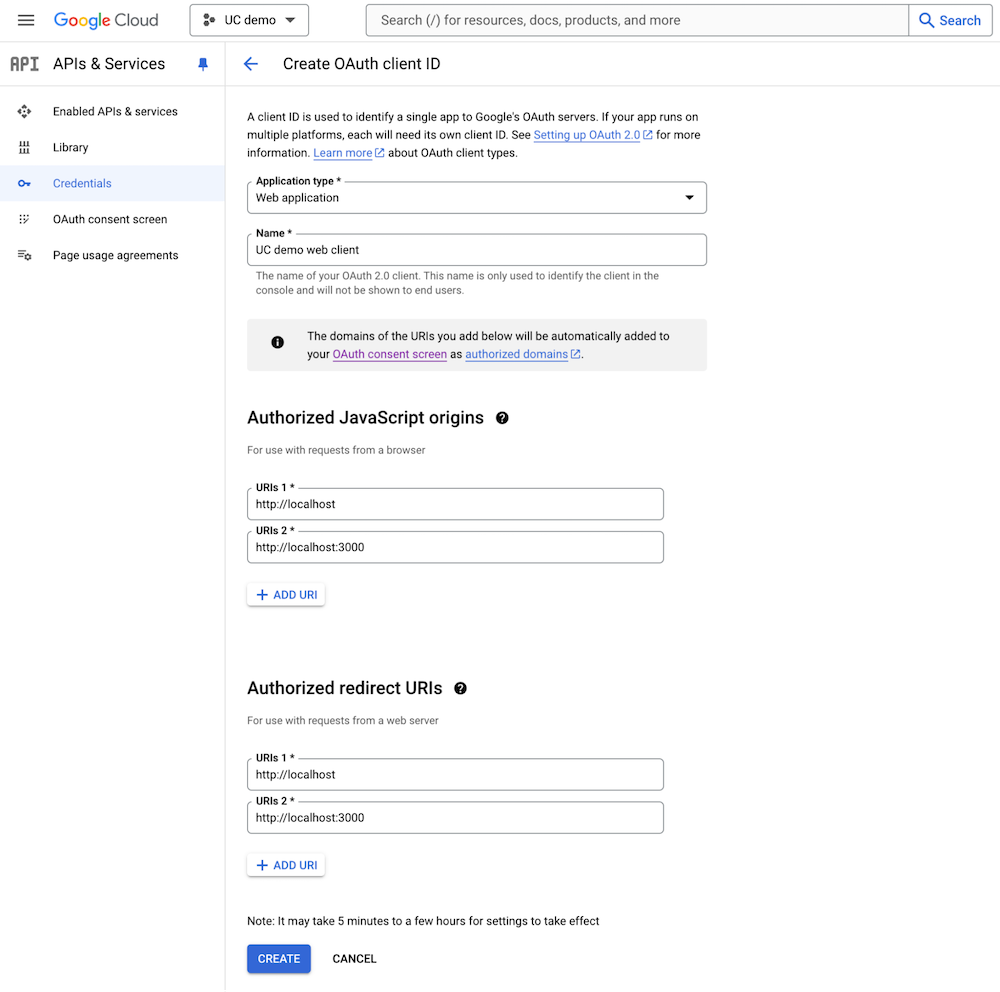
Click APIs & Services > Credentials and click the Create Credentials button to create an OAuth client ID.
- Application type: Web application
- Name: UC demo web client
- Authorized JavaScript origins:
http://localhost,http://localhost:3000(this is required for the UI) - Authorized redirect URIs:
http://localhost,http://localhost:3000(this is required for the UI)
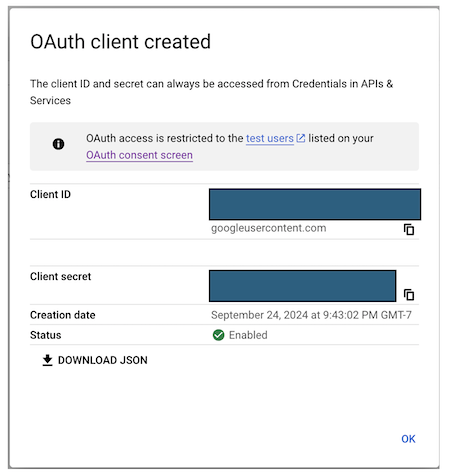
Obtain Client ID and client secret
-
Once the OAuth client ID is created, a pop-up dialog box will appear containing the Client ID and client secret. Make sure to copy and/or download it (via the Download JSON button), as this will be needed in the following steps.